Painless self-hosting using podman and caddy
🗓️ Date: 2022-07-10 · 🗺️ Word count: 801 · ⏱️ Reading time: 4 MinuteSelf-hosting programs you use often and on multiple devices has many benefits such as data privacy and platform customization.
In this series of guides, we will explore some useful open-source self-hosted applications and describe how to easily deploy and maintain them up-to-date using podman, a container manager frontend, alternative to Docker, and caddy, a powerful yet easy to use web server we will use as reverse proxy and TLS certificate manager.
Preliminary concepts
In these guides I assume the reader already has a prelimary understanding of linux containers and reverse proxying. In any case, here are some basic definitions that may help you better understand such concepts.
Containers and images
In the context of linux containers, an image is a static read-only structure that contains a linux filesystem. You can think of an image like a Virtual Machine disk image without the kernel and some other features.
A container is an execution instance of an image. Each running container is a group of linux processes sharing resources (cpu, memory, filesystem and network) separated from the other system processes by kernel policies. Containers can optionally share ports and directories with the host system.
Reverse proxying
Reverse proxying is a feature that some web servers have that enables them to serve multiple websites (associated to different domain names) on the same instance and port.
In order for this to work, the web client must specify in the http header the hostname it is trying to reach.
curl -vvv cloudflare.com
*   Trying 104.16.132.229:80...
* Connected to cloudflare.com (104.16.132.229) port 80 (#0)
> GET / HTTP/1.1
> Host: cloudflare.com
> User-Agent: curl/7.82.0
> Accept: */*
...
TLS-SNI is a feature that enables the reverse proxy to expose the correct TLS certificate for each domain it is associated to.
Basic architecture
The image below represents in a very simplified way the architecture we are about to build.
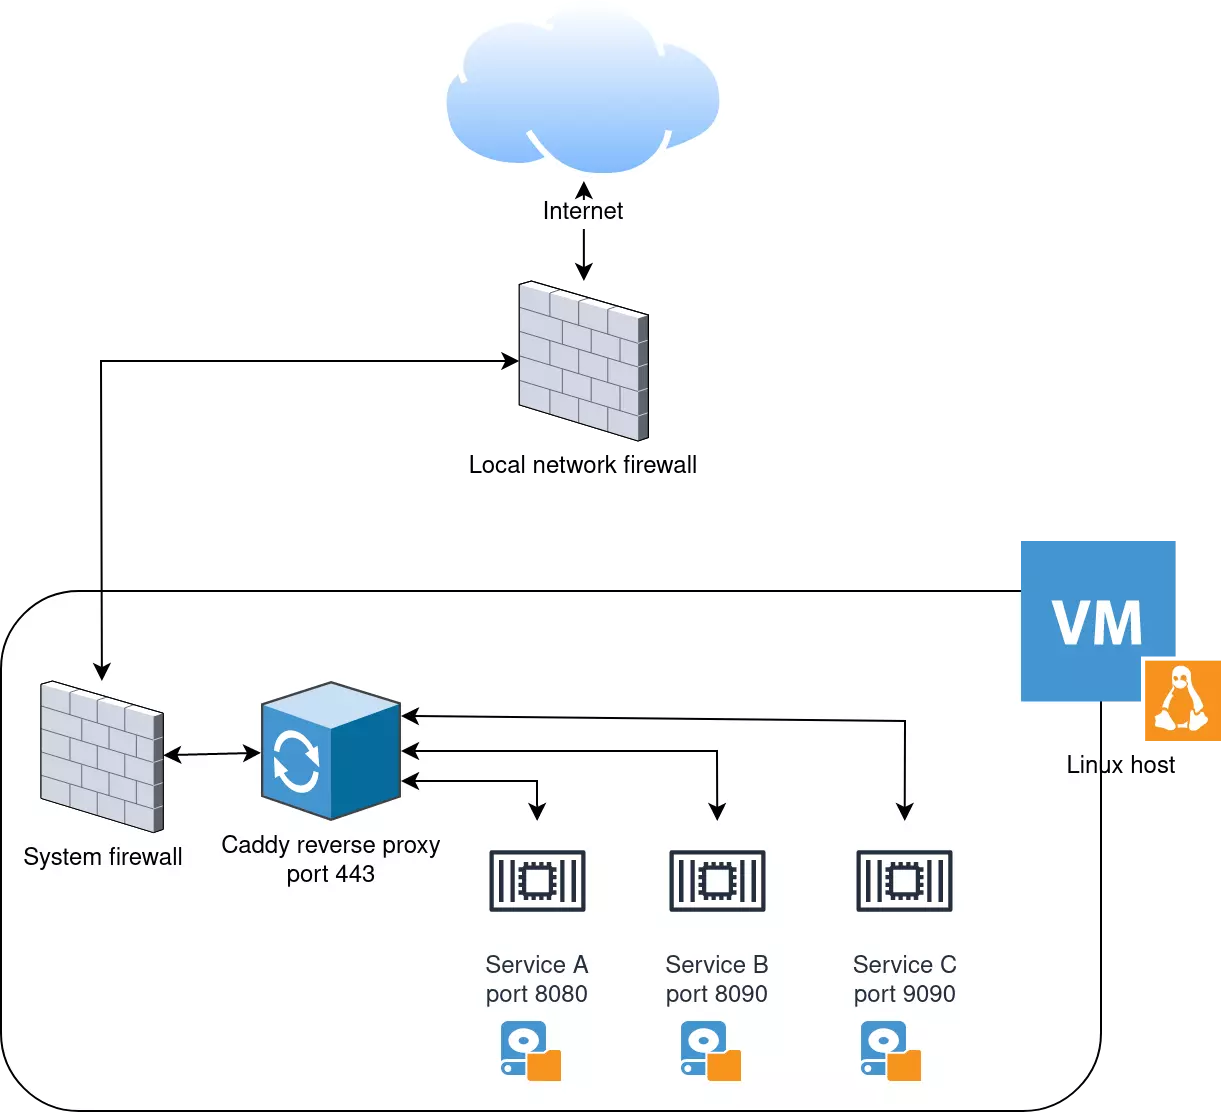
Our services run on independent container, managed by podman. Each of these has access to a directory on the host filesystem for data persistence. In order for these containers to be able to run as unprivileged services (i.e. not require root permissions), they must bind to ports greater than 1024.
Caddy is bound to port 443 and is configured as a reverse proxy to forward traffic to our containers. In order for everything to run without issues, it is necessary to open port 443 and 80 of the system firewall.
Finally, the external firewall must be configured to allow traffic to port 443 and 80 of the host.
This series of guides covers how to set everything up, starting from these assumptions:
- you have a Linux host ready to use which uses SystemD as init system,
- you have a domain name to use with your services and you already pointed it to the host IP address.
Setup
This section covers how to setup your Linux host: configuring the firewall rules and installing the necessary programs.
In this guides I give specific commands for CentOS based distributions, but feel free to test them with other platforms.
Firewall
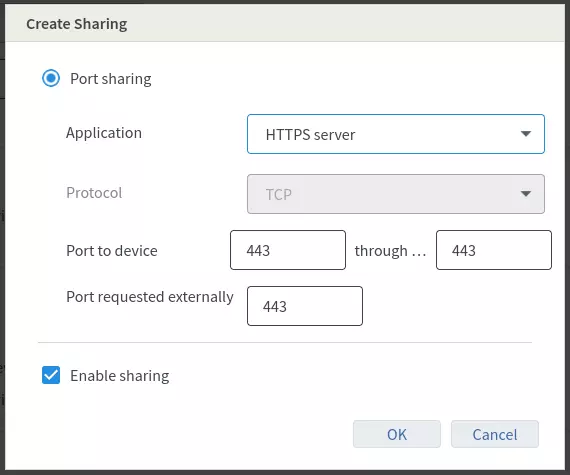
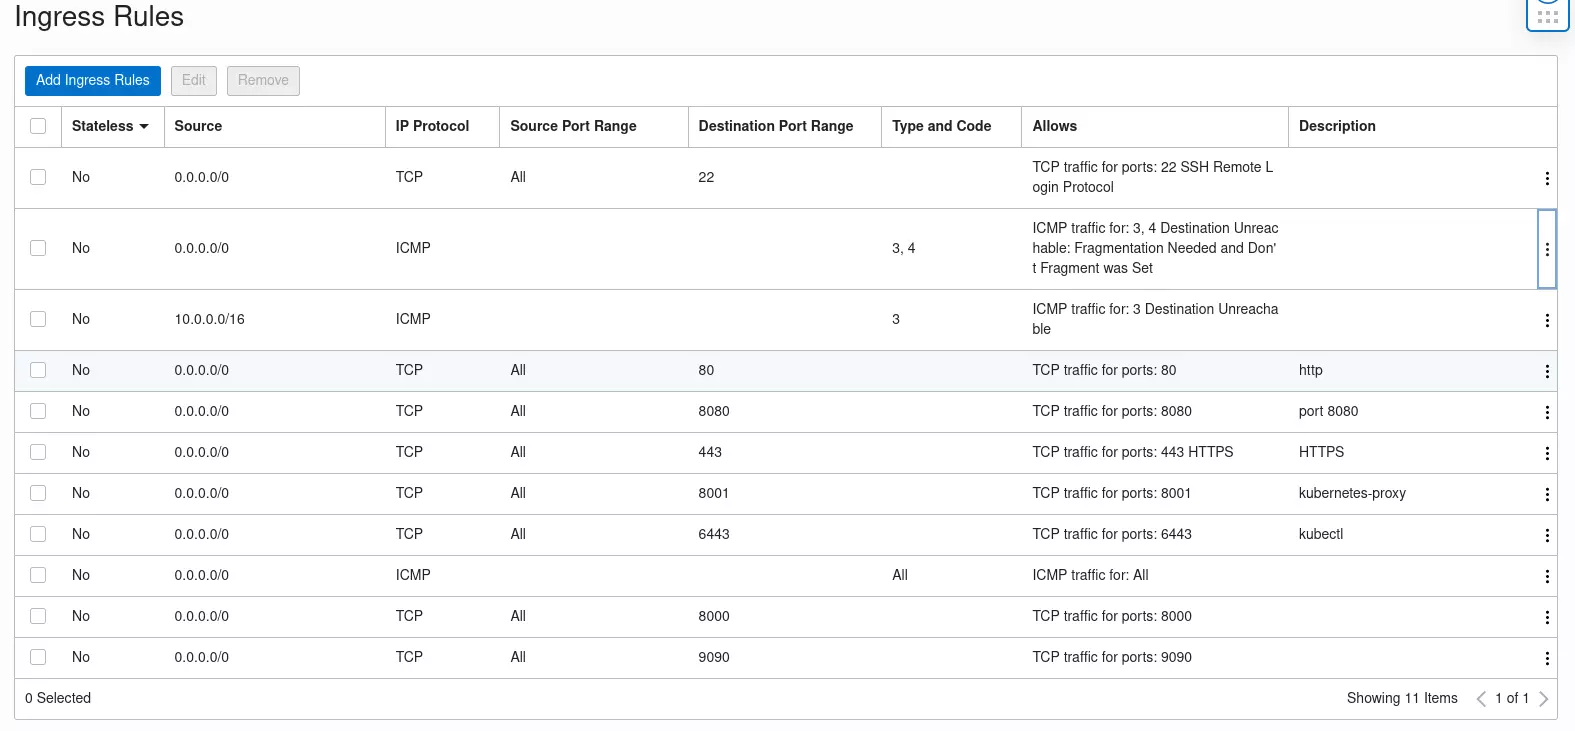
The network firewall must allow traffic to ports 80 and 443. If you are hosting locally (maybe behind a NAT) be sure to create the necessary port-forwarding rules. If you, instead, are using an hosting provider, verify that you have the necessary ingress rules.
The images below are just an example of the interfaces you may find, they do not indicate the ports you need to open.
Then open the same ports on the system firewall.
On CentOS and derivatives firewall-cmd should alredy be installed, on Ubuntu and Debian it may not.
In any case, install it.
After installing firewall-cmd run these commands.
--
sudo systemctl enable firewalld
sudo systemctl start firewalld

sudo firewall-cmd --zone=public --add-port=80/tcp --permanent
sudo firewall-cmd --zone=public --add-port=443/tcp --permanent
sudo firewall-cmd --reload

sudo firewall-cmd --list-all
To test if everything is working, you can start an http server and listen on port 80 and use your browser to visit the domain name associated to the host.
sudo python3 -m http.server 80
Programs
On CentOS derivates, Caddy can be installed and configured with these commands:
sudo dnf install 'dnf-command(copr)'
sudo dnf copr enable @caddy/caddy
sudo dnf install caddy

sudo systemctl start caddy
sudo systemctl enable caddy
Then configure it editing /etc/caddy/Caddyfile and adding these lines.
{
email your@mail.com
}

your.domain.com{
    file_server
}
then reload the configuration sudo systemctl restart caddy and check errors
sudo systemctl status caddy and try visiting your domain name.
Caddy will automatically require a TLS certificate that will expose to the cliets: the process may require some minutes, so the site may not be immediately available.
Install then podman, the command is just
sudo dnf install podman
To test if it’s working correctly run
podman run docker.io/library/hello-world:latest
That’s it! Now we are ready to start installing our services.